Whether it’s for drenching your chicken dinner or pouring over your nut roast, gravy is a delicious addition to the much-loved roast. Making homemade gravy doesn’t have to be hard: expert chef Peter Sidwell talks us through some tips and tricks to make the perfect gravy every time.
Contents
Gravy is a sauce that’s usually made from meat fat and juices combined with a liquid such as chicken or beef broth.
Although nobody is 100% certain where gravy originated, the term appears in Middle English as ‘gravé’, so it’s likely that it came about from the French language. One of the earliest recordings of gravy was in a French cookbook from the 14th century, but gravy really began to grow in popularity during the 1800s. The French and the Brits began perfecting the recipe and — well — the rest is history!
Today there are many variations of the classic recipe, with countries like America putting their unique spin on it.
What is gravy made of?
Gravy is traditionally made from the meat juices left on your pan after cooking and broth or stock, mixed with flour or cornflour to thicken. Today, however, there are many variations like onion, white, and even vegan gravy!
Some people also like to add wine, caramelised onions, garlic, mustard, or herbs like thyme to their gravy to enhance the flavour.
How to make gravy from scratch
Of course, you could take the easy route and use some gravy granules, but there really is nothing more delicious than homemade gravy. Making gravy from scratch doesn’t have to be difficult — it’s much easier than you think. That’s why we’ve put together a simple how-to guide to get you started. This basic recipe works as a foundation for any other types of gravy you want to try out — but we’ll get into that later!
Ingredients
- Meat juices from your roasting tin
- 3 tbsp plain flour
- 700ml vegetable stock
- Herbs or thyme (optional)
Method
- Remove the meat from your roasting tin and set it aside to rest. Using heat-proof gloves, place the tin, with the meat juices on, over low heat on the stove. Just make sure your pan is compatible with your stove — we have a range of strong stainless steel roasting tins that can be used on your hob, as well as in your oven.
- Add 3 tbsp of plain flour and mix with the juices using a balloon whisk until well combined. Then, stir continuously for around 2 minutes, allowing your gravy to thicken.
- Turn off the heat and gradually pour in the stock to make the gravy as thin or as thick as you prefer. As a guide, 3 tbsp of four and 700ml of stock should produce a good consistency.
- Turn the heat back on and whisk constantly until thickened. If you prefer a thicker gravy, allow it to simmer for around 10-15 minutes, stirring every so often.
- Herbs or thyme can be added at this point for more flavour.
Once the consistency is how you like it, carefully pour your gravy into a gravy boat and serve.
How to make gravy from stock
Making gravy from stock is a great option if you’re pushed for time — it can be whipped up in under five minutes!
It’s made in a similar way to traditional gravy, but instead of the meat juices, you start with a stock cube. Simply add boiling water to a jug to dissolve your stock cube and add it to a saucepan with three tablespoons of flour, whisking until combined.
“Adding some red wine will create a deeper flavour,” says Peter, “and a teaspoon of butter at the end will give your sauce a silky shine.” Onion powder is also an optional ingredient for a more flavoursome sauce — just sprinkle it into your stock!
How to make onion gravy
Perfectly paired with sausage and mash, onion gravy is packed with flavour and requires little effort.
“Make sure you slice your onions thinly and add salt to the pan when cooking. The salt will help give your onions a deep flavour and add colour to your gravy,” says Peter, “Take your time to caramelise the onions, this process can’t be rushed.” Once your onions have caramelised, all you have to do is add stock, flour, and leave to thicken. Then you’re ready to go!
How to make chicken gravy
Who doesn’t love a classic chicken roast? For a delicious gravy to accompany your dinner, use the juices from your chicken as the base and follow our classic recipe.
Top tip: “roast your chicken with herbs, lemon, and garlic to give the juices even more flavour for your gravy,” says Peter.
For some inspiration on what to make with your leftover roast chicken, read our guide.
How to make beef gravy
Roast beef certainly wouldn’t be as tasty if it didn’t have gravy poured all over it.
This time, just use your roast beef as the base for your gravy and follow the same simple steps! Peter advises, “add one pod of star anise with 200 millilitres of red wine to your gravy for a deep flavour that works beautifully with beef.”
How to make vegan gravy
Yes — even vegan gravy can be made from scratch. Perfect for pouring over your nut roast!
First, fry off some onions and garlic with olive oil until brown, before adding vegetable stock and flour to your pan. Then, just whisk until combined.
Peter advises, “Use plenty of onions with the skins on to help with the colour of your gravy. Adding dried wild mushrooms will also help to add a savoury flavour.” Just remember to run the mixture through a strainer to remove the onion skins before serving!
Frequently asked questions
How do I thicken gravy?
Don’t worry if your gravy is too thin — it can easily be fixed!
“Add a tablespoon of cornflour with three tablespoons of warm water and mix to a paste,” Peter says. “After you have stirred in the cornflour mixture, turn up the heat until your gravy is just the right consistency.”
If you only want your gravy thickening a little, try combining just one tablespoon of cornflour and water. You can always add more if needed.
Can gravy be frozen?
“Yes, absolutely gravy can be frozen. We always do it in our house as we often make too much,” says Peter. “It's also perfect for adding to stews, soups, and curry instead of stock cubes.”
Gravy can be frozen for up to three months and can even be put into ice cube trays if you plan to use it a little at a time.
When reheating, remember to thaw your gravy in the fridge for around 24 hours to avoid harmful bacteria. Then, place in a pot over medium heat and whisk until the temperature reaches a safe temperature of 75°C.
How long does gravy last in the fridge?
Gravy will keep fresh in the fridge for three to four days. If you haven’t used it within this time, consider freezing it to avoid food waste.
When reheating from the fridge, place in a saucepan over medium heat on the stove and stir occasionally until very hot.
How to fix lumpy gravy?
Nobody wants lumpy gravy! For perfectly smooth gravy, Peter advises: “pour it through a sieve into a jug, then return to the pan on a gentle heat.”
If that doesn't work, try using a hand blender right in the pan to blitz any lumps.
How to add more flavour to gravy?
You may want to enhance the flavour of your gravy, especially if you’re using a stock cube as your base.
“Adding red or white wine is a great way to add richness to your gravy. Remember though — boil your wine before adding it to your gravy to help cook off the harsh alcoholic taste and intensify the fruitiness,” says Peter.
“I also like to add a splash of dry cider to my gravy made with roast pork juices, a teaspoon of cranberry sauce for chicken gravy, and a teaspoon of wholegrain mustard for gravy poured over sausages. Adding dried wild mushrooms also creates a deep meaty flavour that works perfectly with any roasted meats.”
What is the best pan to make gravy in?
“I like to use a large five-litre cast aluminium pan as it can be used on the hob and in the oven,” says Peter.
A deep aluminium pan is perfect for cooking large amounts of gravy, but if you plan on rustling up a small amount quickly, a saucepan is ideal. Or, you can skip the pan and simply put your roasting tin directly on the hob with your meat juices in. Just make sure your roasting tin is compatible with your stove.
Top tips for making gravy
1. Let your ingredients caramelise
“Always cook your ingredients to a heavy golden-brown colour as that is where the colour and flavour come from in your gravy,” advises Peter. To caramelise your onions, cook them slowly in olive oil for around 10 minutes to pull out the natural sugars.
2. Add veggies
Do you want a thicker gravy consistency, without having to add too much flour? Use veggies! Add some onions and carrots to your roasting tin when cooking your meat, then make the gravy in the tin with your veg. Whizz your mixture in a blender, sieve, and return to a saucepan for beautifully thick gravy.
3. Use a splash of soy sauce
Is your gravy looking a bit pale? Adding soy sauce to your gravy may seem a little odd, but using a splash can darken and add flavour to it.
4. Dissolve your thickener
There's nothing worse than little clumps of flour in your gravy. Before adding thickener to your gravy, mix it in a cup with some warm water to make a paste. Then add to your gravy and stir with a whisk. No more lumpy gravy.
5. Remove the fat
Want to remove unhealthy fat from your gravy? Pop a few ice cubes in your saucepan — the fat will go cold and immediately cling to the ice. Just scoop them up with a spoon and throw them away. Easy!
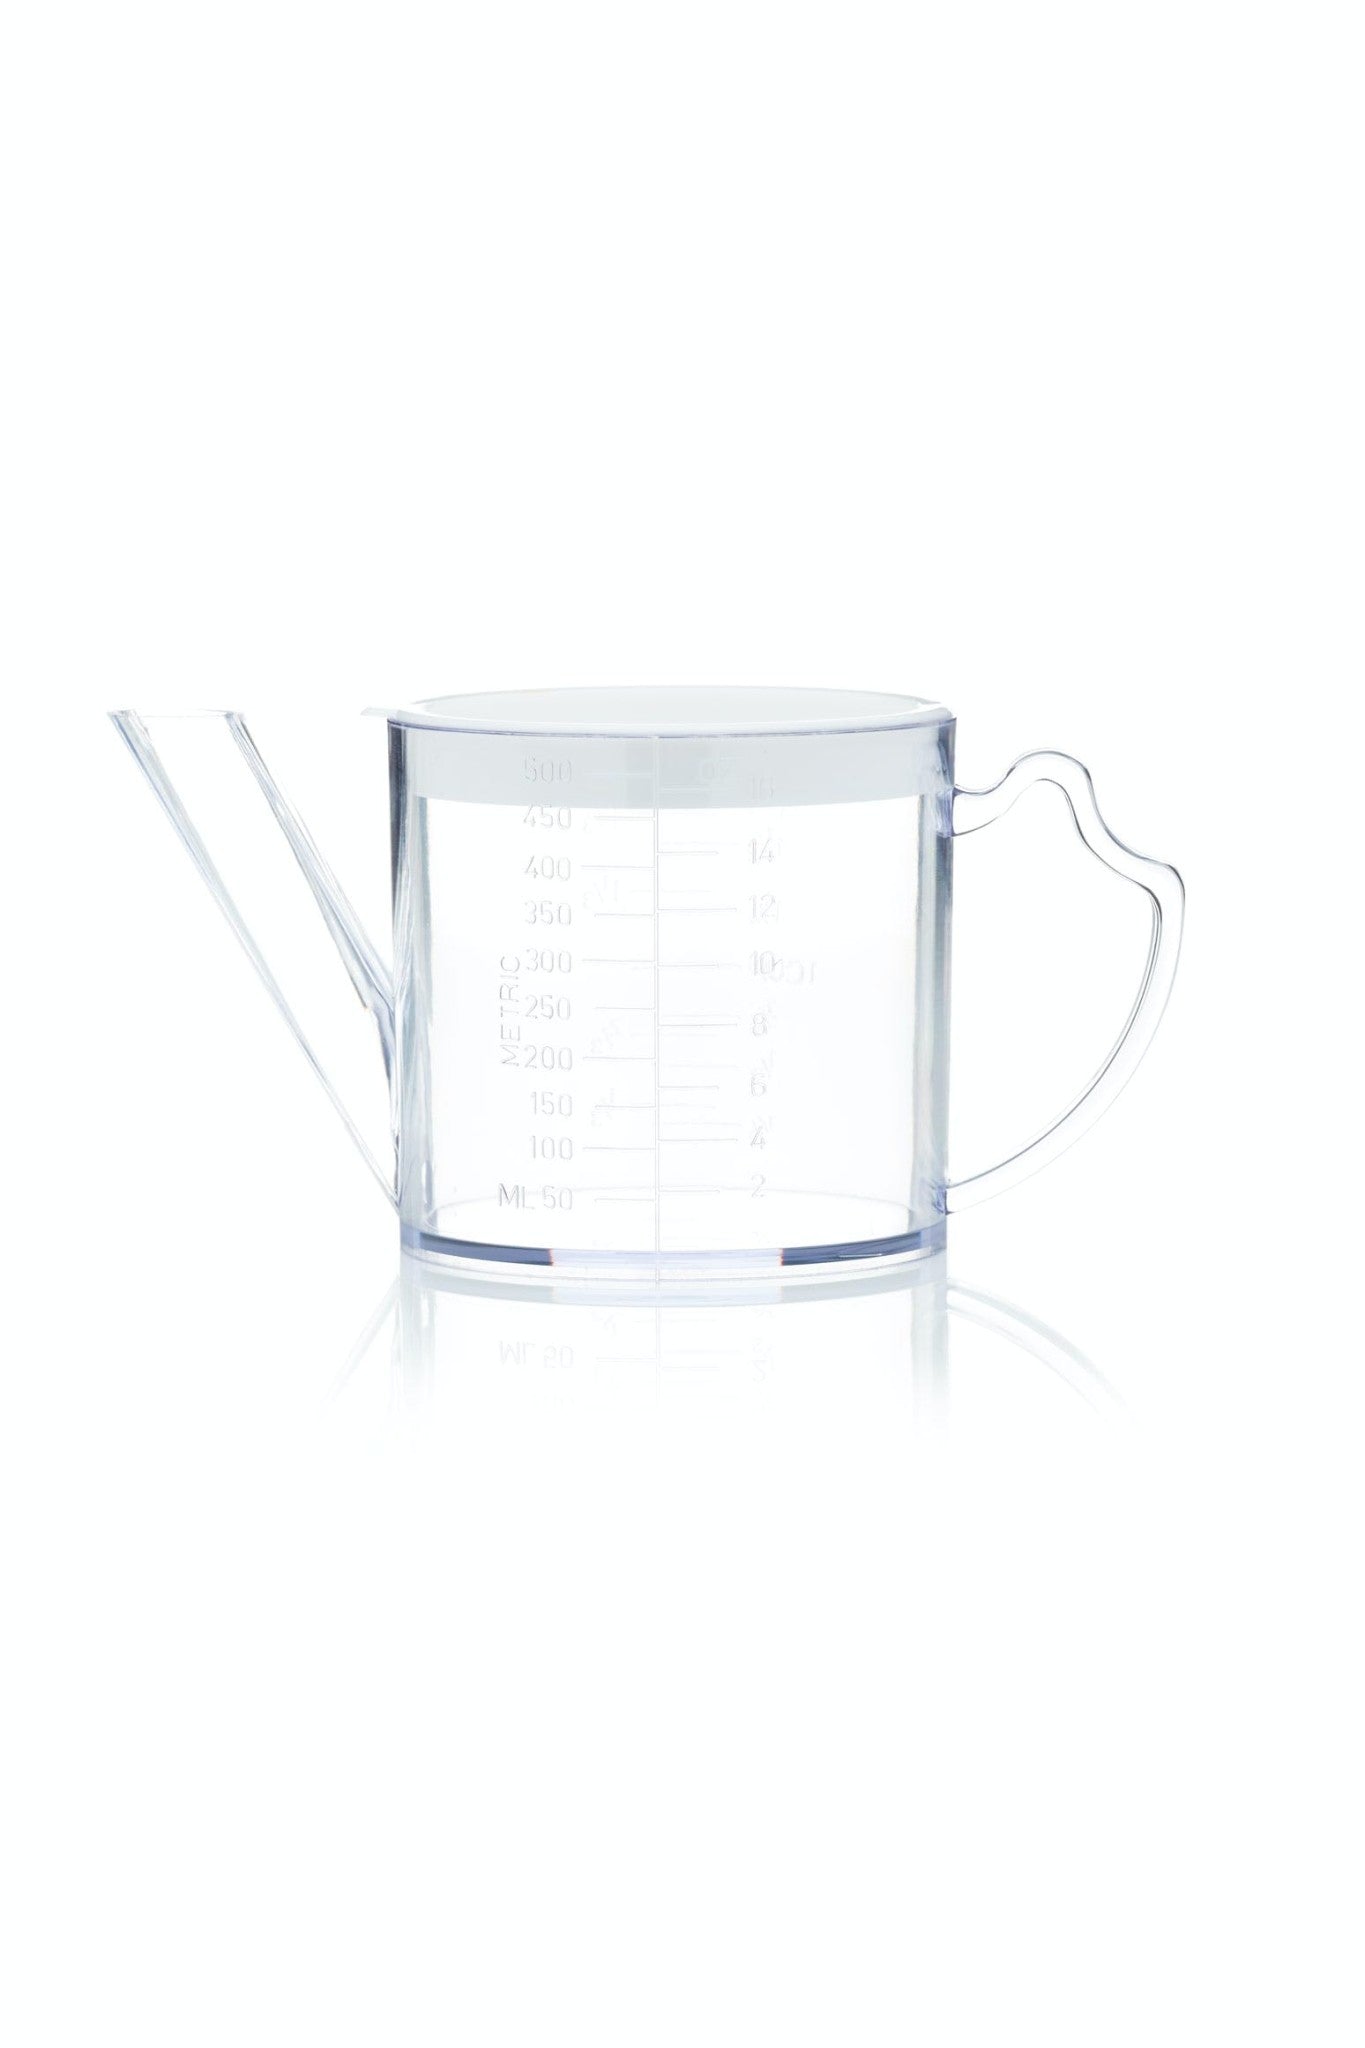
Or, if you’re worried about the ice cubes watering down your mixture, Peter advises, “transfer your gravy to a fat separator which pours delicious meaty gravy while leaving the fat behind.”
The best tools for making gravy
Best for removing fat: KitchenCraft Gravy / Fat Separator and Measuring Jug

KitchenCraft 500ml Gravy / Fat Separator and Measuring Jug
Wanting to be a little healthier? Thanks to this fat separator jug, you can still enjoy lashings of gravy on your Sunday dinner while cutting down your fat intake. “This jug is perfect for helping you separate the fat from the juice to make non-greasy gravy,” explains Peter.
The built-in strainer lid filters pesky meaty bits from homemade gravy, creating silky-smooth goodness.
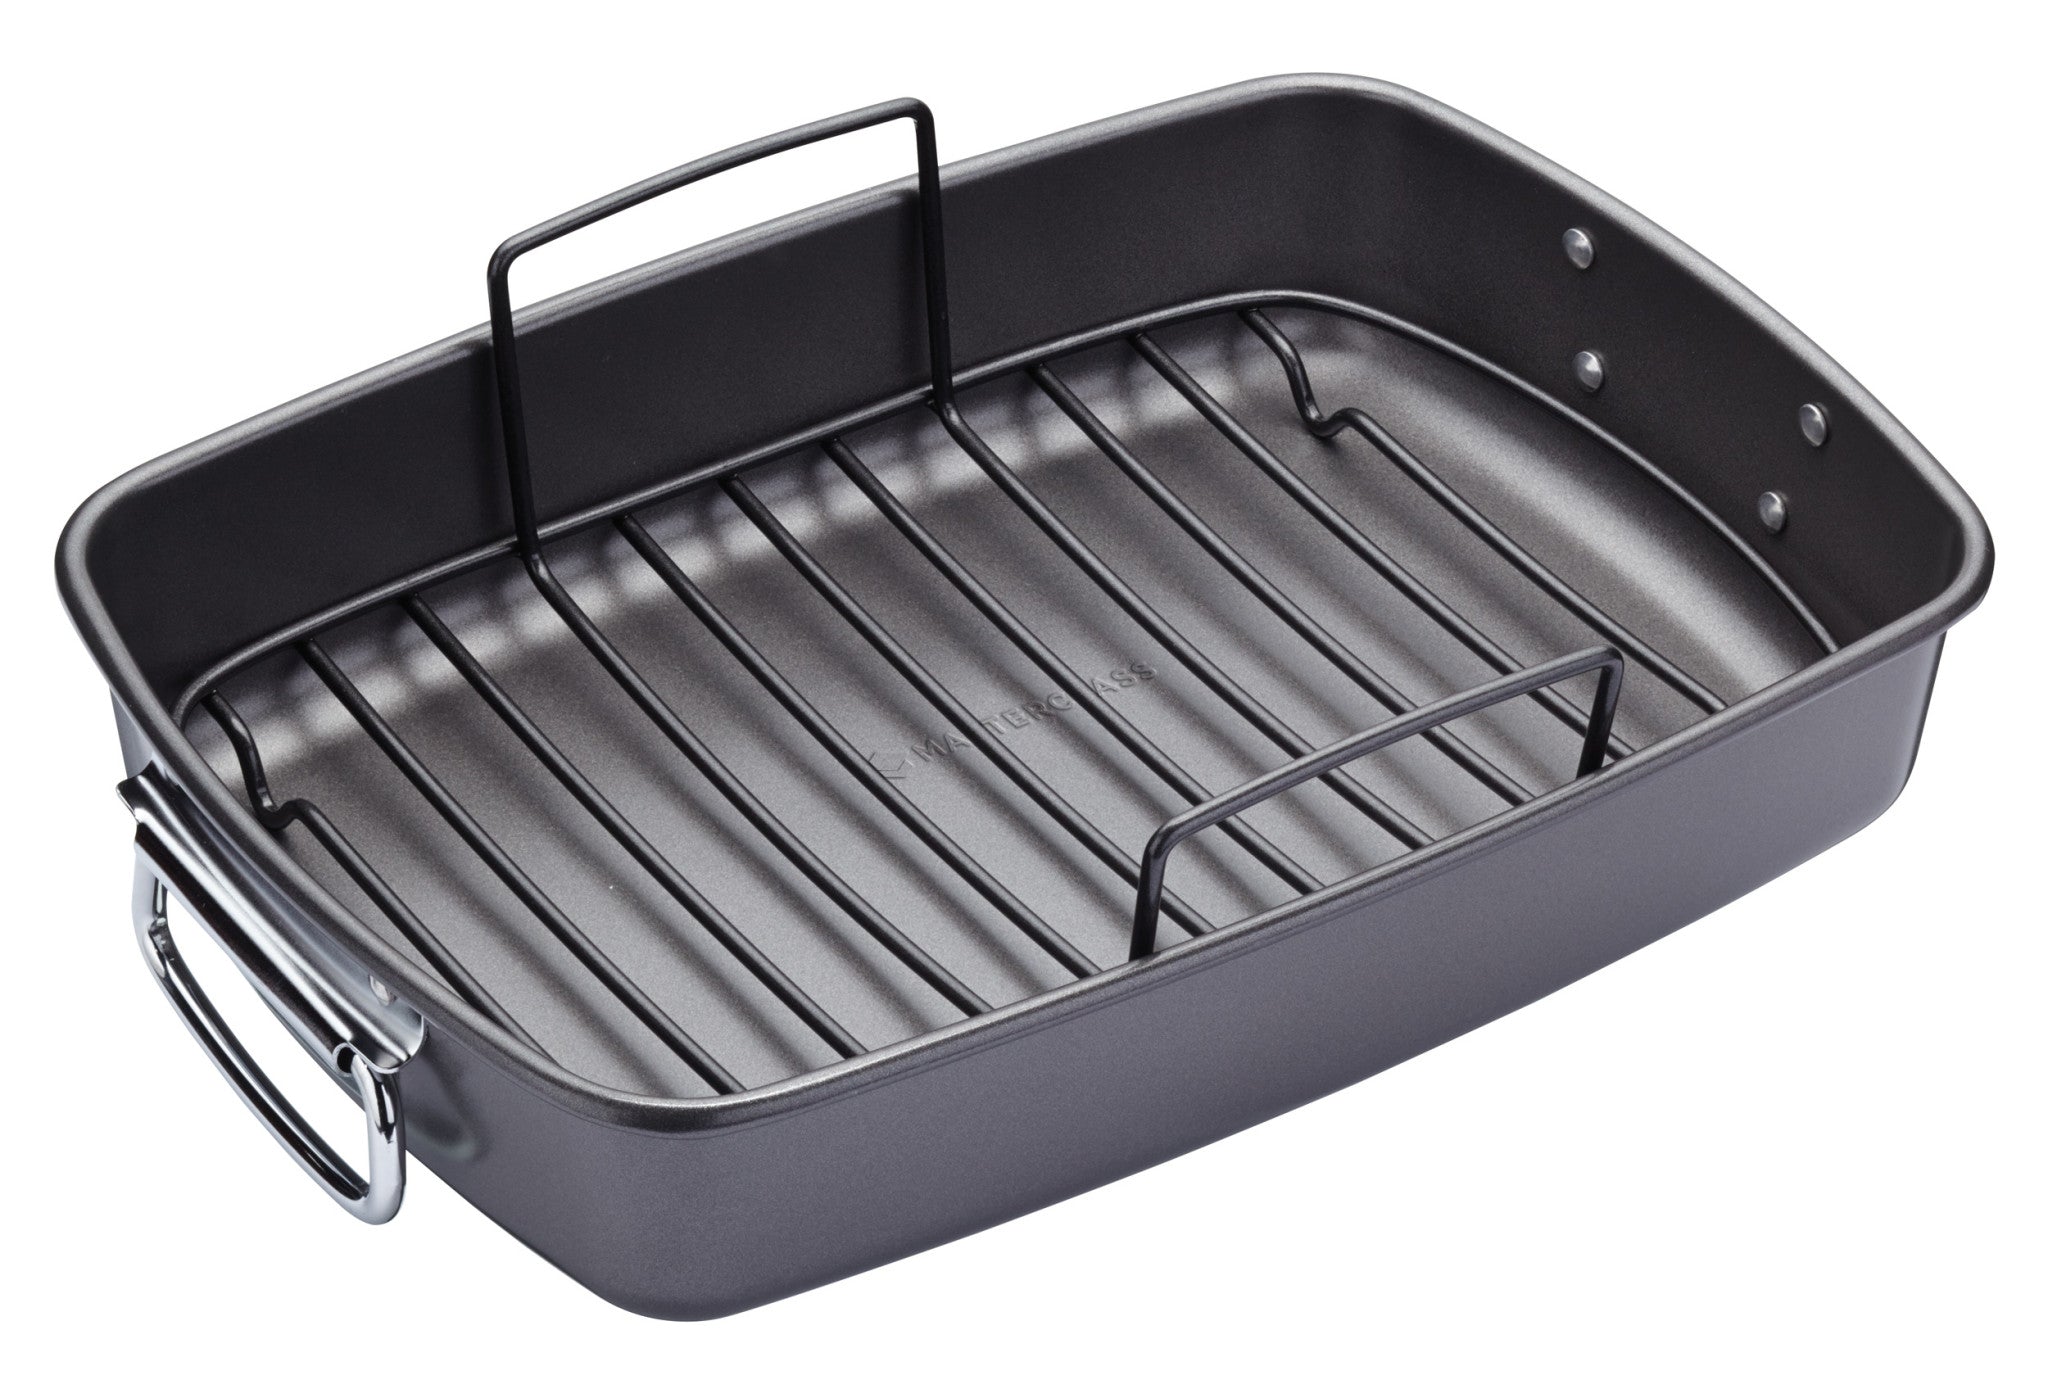
Best for roasting meat and veggies: MasterClass Non-Stick Roasting Pan with Rack

MasterClass Non-Stick Roasting Pan with Rack, 40cm x 28cm
“Having a good roasting tray with a rack is essential as adding lots of veggies around the joint of meat will help with the flavour and moisture of the roast. Without the veggies your gravy may not have the depth of flavour you want,” says Peter. The rack also helps juices drip out of the meat, ready for turning into a mouth-watering gravy.
Best for stirring: Colourworks Purple Silicone Balloon Whisk
A real kitchen must-have for gravy lovers: its strong wires whisk lumps into smoothness and the textured handle makes it easy to grip. “A practical tool for stirring in butter for a silky finish, or whisking to thicken the perfect gravy,” says Peter. You’ll also be glad to hear that it's dishwasher safe, making cleaning up a breeze!
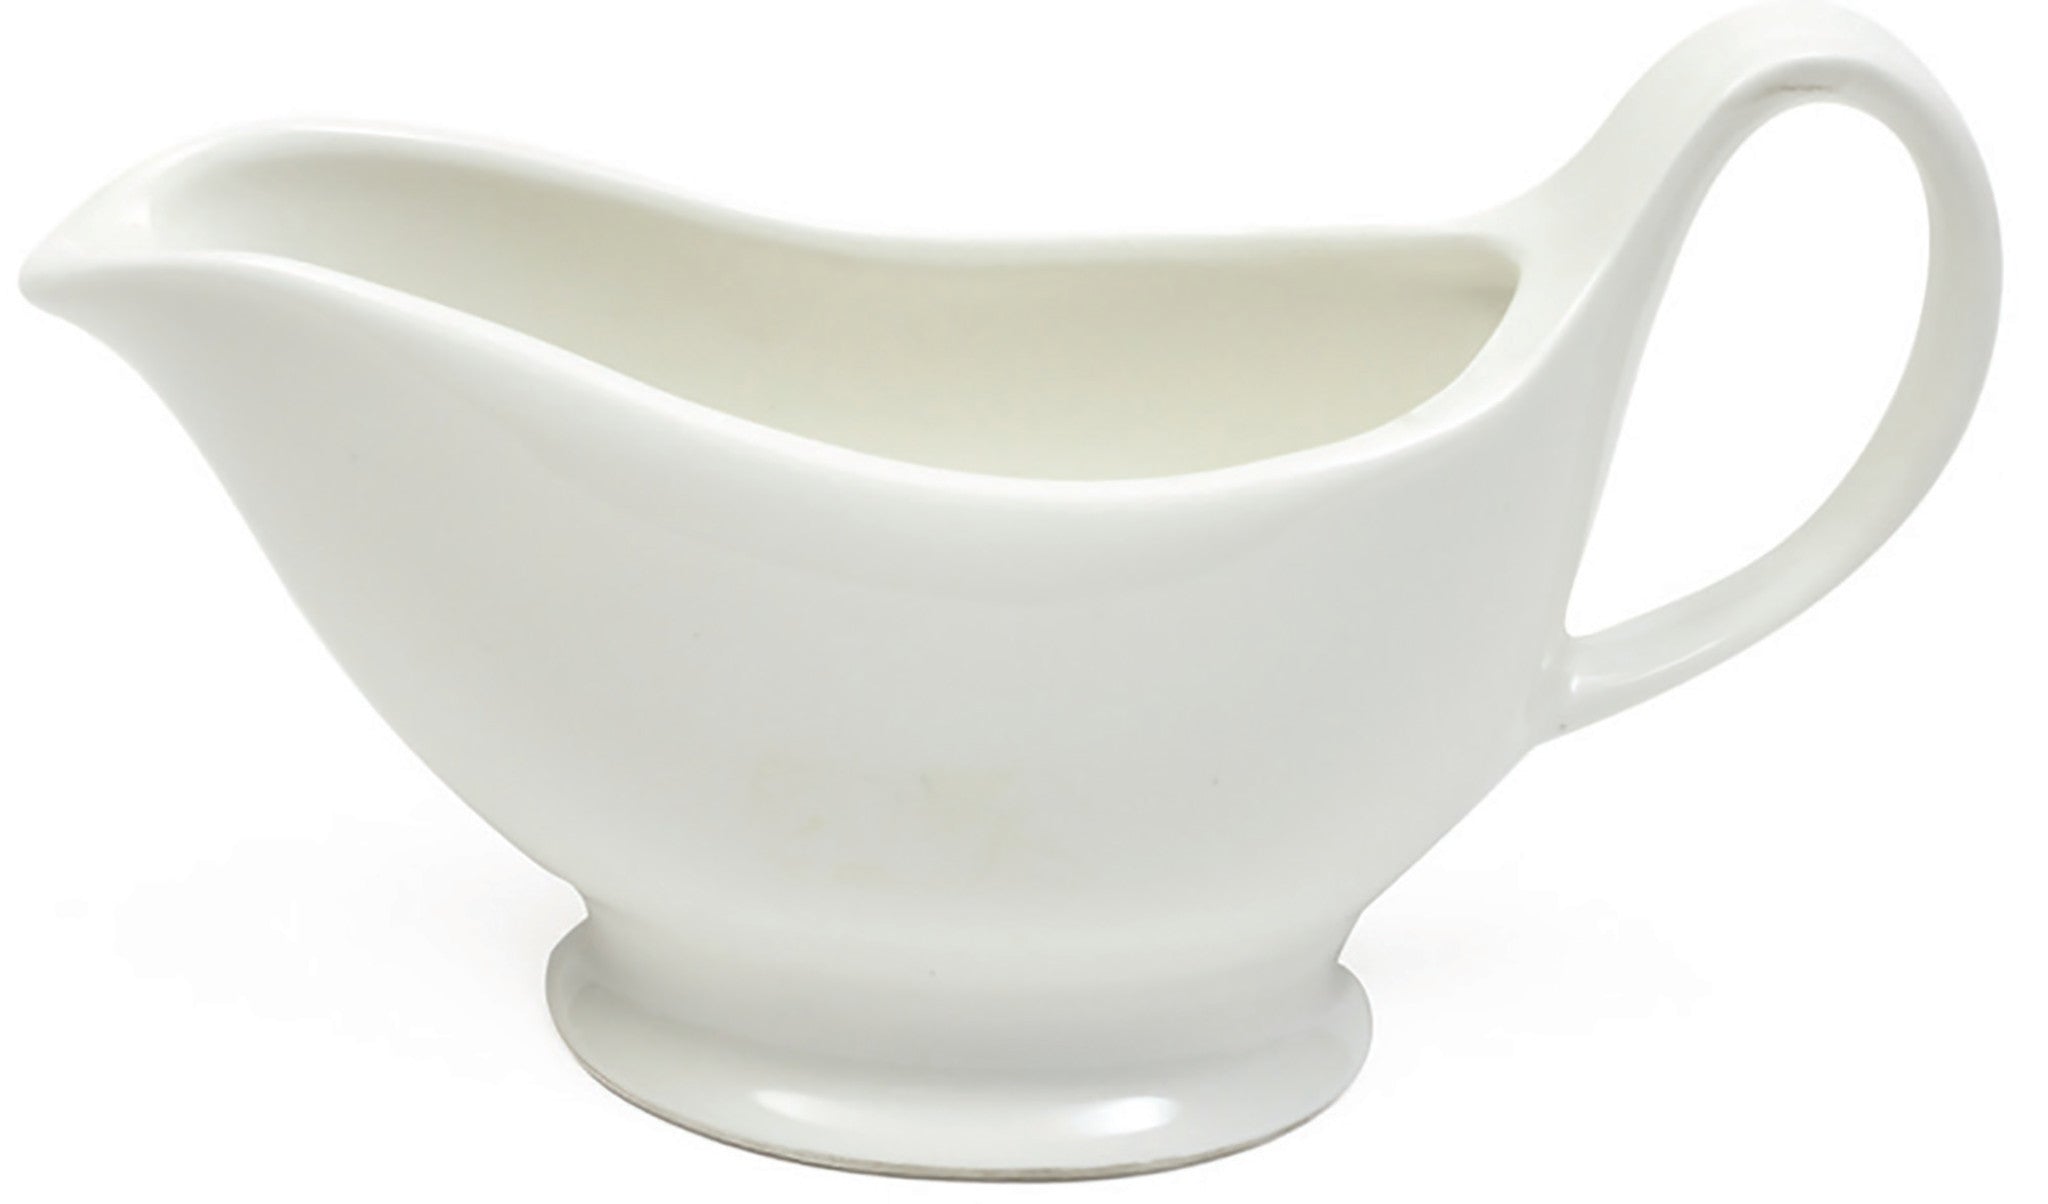
Best for serving: Maxwell & Williams White Basics Gravy Boat

Maxwell & Williams White Basics Gravy Boat
Whether you like a delicate drizzle or a generous pour, serving the perfect amount has never been easier with this gravy boat. The contemporary design in white porcelain is sure to impress your guests, and the 400ml capacity is ideal for dinner parties or Christmas lunch with the whole family. It’s also microwave, oven, and dishwasher-friendly, making it extremely versatile.
You’re now ready to make delicious homemade gravy from scratch
Gravy is a tasty finishing touch to the much-loved roast dinner, which is perfect for warming you up during the colder months.
Making homemade gravy isn’t as hard as it seems and with the right tools, you can make it just how you like it.
Shop saucepans, whisks, gravy separators, roasting tins, and more today.

